Clipping Path and Remove Background
If you want to edit a photo properly, then adobe photoshop is the right choice for you. There
are so many tools like clipping path, color grading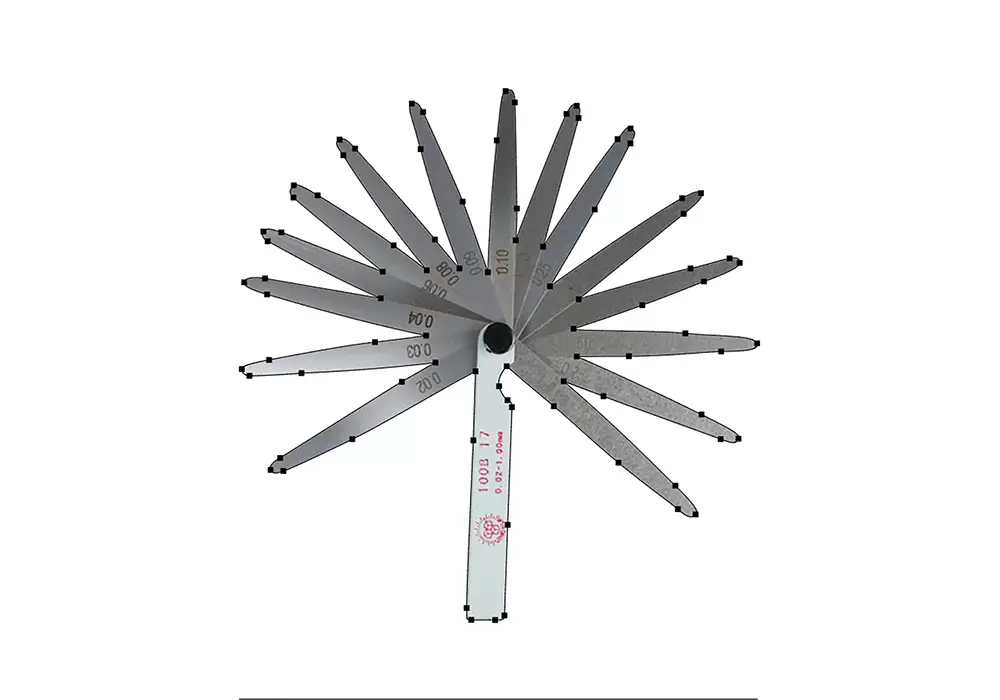 , etc to edit your photo in Photoshop. If you want to remove your image
background, then there is a clipping path and background removal tool.
How To Remove Background
You can remove the background using the pen tool. Let me tell you the process step by step.
Step 1
First of all, you have to open the image file. Go to file and click ‘Open’. (Ctrl+O)
Step 2
Now you have to pick the pen tool. From the toolbar select the top option of the menu and then you can draw the path
Step 3
Now you have to trace a path around the photo. You have to add an anchor point. Then keep adding anchor points on the boundary of the image. That’s how you have to draw a path around the image
Step 4
Now you have to open the path panel. Go to Windows > Path. Then click on the path, and you will get the path panel.
Step 5
You have to convert the path into selection to remove the background. Right-click on the path then click on ‘Make selection’. It will convert the path into a selection
Step 6
The image is selected. You need to select the background. Go to ‘Select’ and click on ’Inverse’
Step 7
Then duplicate the background layer. On the layer panel, you will find the background layer. Right-click on the layer and you will find ‘Duplicate Layer. Click on it
Step 8
Now click on ‘Delete’ to delete the background layer. That’s how you can do Clipping path and background remove
If you need this service you can contact Us for better result
Clipping Path and Remove Background
If you want to edit a photo properly, then adobe photoshop is the right choice for you. There
are so many tools like clipping path, color grading, etc to edit your photo in Photoshop. If you want to remove your image
background, then there is a clipping path and background removal tool.
How To Remove Background
You can remove the background using the pen tool. Let me tell you the process step by step.
Step 1
First of all, you have to open the image file. Go to file and click ‘Open’. (Ctrl+O)
Step 2
Now you have to pick the pen tool. From the toolbar select the top option of the menu and then you can draw the path
Step 3
Now you have to trace a path around the photo. You have to add an anchor point. Then keep adding anchor points on the boundary of the image. That’s how you have to draw a path around the image
Step 4
Now you have to open the path panel. Go to Windows > Path. Then click on the path, and you will get the path panel.
Step 5
You have to convert the path into selection to remove the background. Right-click on the path then click on ‘Make selection’. It will convert the path into a selection
Step 6
The image is selected. You need to select the background. Go to ‘Select’ and click on ’Inverse’
Step 7
Then duplicate the background layer. On the layer panel, you will find the background layer. Right-click on the layer and you will find ‘Duplicate Layer. Click on it
Step 8
Now click on ‘Delete’ to delete the background layer. That’s how you can do Clipping path and background remove
If you need this service you can contact Us for better result
https://monirretoucher. com/